Saturday, November 12, 2011

Auction and Raffle


This Saturday will be the Crescent Lane Rug Hooking Guild's Covered dish dinner and Auction.
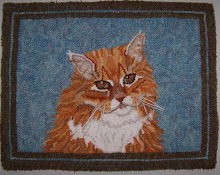
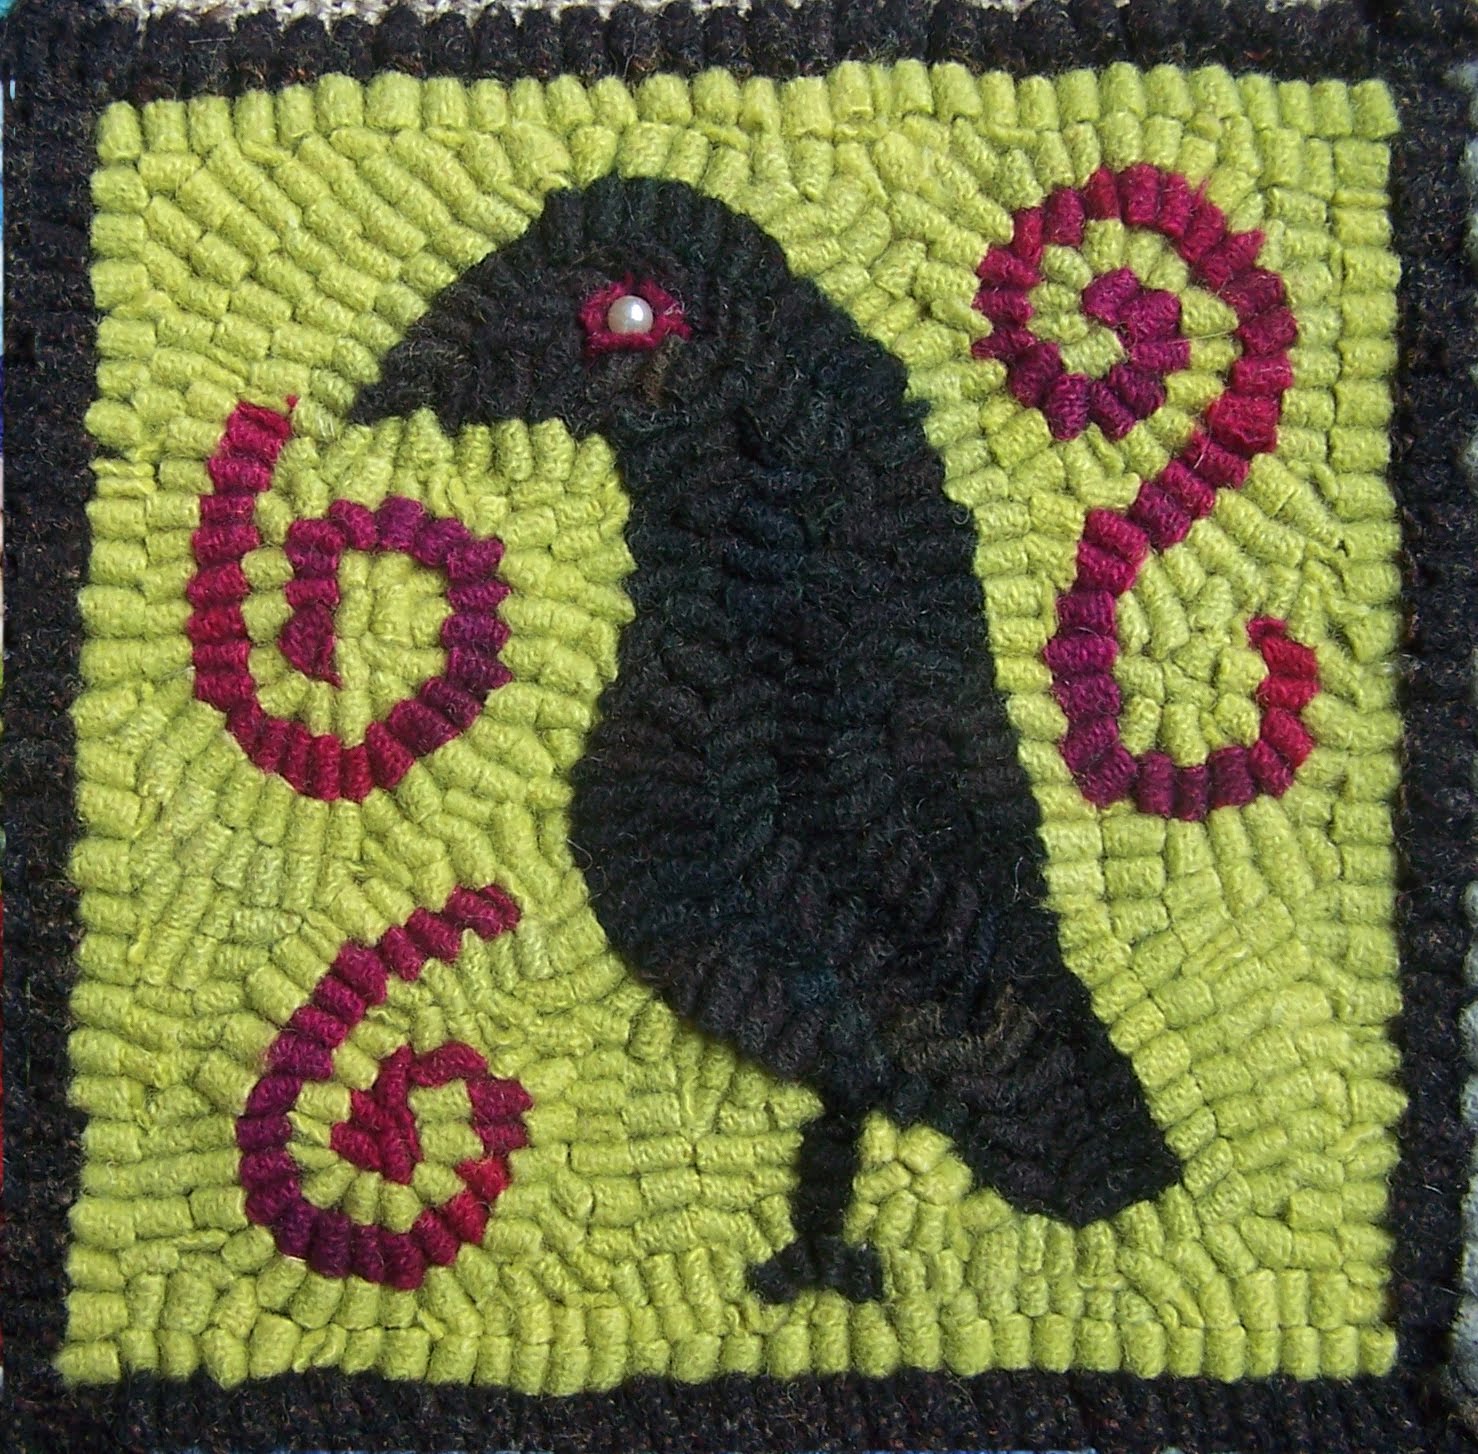
Here is a picture of the rug that we made to raffle off that day. Everyone who wanted to hook a square got one free raffle ticket. Everyone could hook anything they wanted, and just look how cute it turned out. It was agreed that we would keep a rug going all the time and when someone wants or needs something to hook, it will be available to them at our hook nook.

During our lunch, we will have a Silent auction of several items to bid on. The auction will follow immediately after lunch. Each item was handmade by someone or a bought handmade item. We will also have enough door prizes for everyone. It will be so much fun.

We have so very many wonderful items for our auction. I hope to get some good pictures to post. Happy Hooking!

Friday, November 4, 2011

Make a cute magnet for your scissors and hook . . .


You can make a cute magnet to hold your favorite hook and scissors for yourself or for a hooking friend. It is not difficult, and the magnets keep your hook and scissors handy. One magnet is placed on top and the other magnet is placed underneath your linen to hold the top magnet in place.

NOTE: I found the directions for making the sweet little snippet bag on Linda's blog at http://thewoolcupboard.blogspot.com/  in the October 9, 2011 post.

You will need the following: wool fabric, fabric for lining, two strong magnets, pins, a needle, scissors, embroidery floss, buttons and scrap wool (optional).
I bought my magnets from Home Depot. They are a 3/8 inch x 7/8 inch by 7 7/8 inch block, two per package for about $2.50.

Cut 4 pieces of wool and 4 pieces of lining 3 1/4 by 4 1/2 inches.


Sandwich your magnet in between 2 lining pieces and then two wool pieces. Pin, centering the magnet.


With your needle and embroidery floss (all 6 strands), use a running stitch to secure the magnet in all the layers. Hide your beginning and ending knots in between the layers. The lining pieces will help to protect the wool from the sharp edges of the magnet. NOTE: Check the polarity of the magnets before you sew the second one if you are mixing your wool around like I did on the example. I can change my magnets around to show a different side.


Trim your lining pieces shorter than your wool pieces.


Embellish your magnets with scraps of wool and buttons if desired. Treat yourself . . . or make one for a friend. Happy Hooking!

Monday, October 31, 2011

Allie's Rug


Now that the new grand baby is here, I wanted to make a rug for her big sister (my first grand child) who had to give up her room and move upstairs. That is a lot to ask of a big sister!

I decided to let Allie design her own rug. She looked through some of my rug hooking books and decided on some things to put in her rug. I gave her a large piece of paper (a mistake on my part) and she filled it up with her favorite things . . . Hearts and Stars and Flowers. I helped her with the leaves and side leaves and stems. Then she wanted a dog in the center. D-Daddy (my hubby) taught her how to draw a dog.

My next step was to talk her out of half of the tulips in the center. She decided on color placement and went through all my wools and picked out her favorite colors, all blues and purples. She liked dots, so she told me to add some.

When I gave her the rug, her face lit up with joy to see her drawing on a rug. I was trying to impress her and I pointed out that I added purple tint to the background wool. She studied it for a moment and said, "That's O.K., MooMoo. I don't think anyone will notice. Oh well, so much for for that.

It looks so adorable in her room.

Saturday, September 10, 2011

Panda rug finished

I had finished the Panda Rug about two weeks ago and took it to my daughter today. She was so delighted and surprised to see it. She knew that I was hooking something and just could not imagine what it could be.

When I showed her the rug, she remembered the picture that she drew as if it were yesterday. She remembered that I had saved it from years ago and that her dad and I had always loved it. She had no idea that I was hooking it as her rug for the new baby. My daughter studied the picture and then the rug over and over again. It made me so happy!

It looks adorable in the baby's room. All we need now is a baby! Autumn Kate will be born in a few weeks. We are so excited.

Saturday, August 27, 2011

Cleaning and lubricating your Bliss Cutter


It is not difficult to clean and take care of your Bliss cutter. Mine is rather old as you can see, but it runs smooth as glass. Do not be afraid to clean your cutter. (Please click on the pictures for larger images.)


First, you want to clean out all the wool dust . Lower the drum by turning the knob under the machine (unscrewing it a bit, not all the way). The drum will lower. I use an old toothbrush and brush all the areas underneath and on top.

Once all the dust is gone, you can use a lubricant (I use a Lithium Grease. It is like a tooth paste in consistency). To put the lubricant on the machine, I use an old paint brush with stiff bristles.
Lithium bonds to the metal which is a good thing. I bought this tube from Lowe's for about $3.75. This tube will last me more than a life time, but it is also good for door hinges. Lubricate you Bliss maybe once a year or whenever it is not running smoothly.

Clean and lubricate everything that turns on the underneath side.


Get into all the grooves of each gear.


I will also lubricate the handle because it squeaks sometimes.

Take good care of your Bliss. Happy Hooking.


Wednesday, August 17, 2011

Panda progress . . .

I am making some really good progress on my Panda rug. I've had to make a few subtle changes here and there, but I'm trying to keep it as close to the original as possible. My daughter and my initilas were the same when she drew this picture, so I am adding her date before and my date after the initials . . . just not sure what color I want to do them in.
Happy Hooking!

Friday, August 5, 2011

"Panda" and other things


WOW . . . has it really been that long? I have been very busy working on an auction for our Guild. It has been over a year since our dear Nancy's passing, and our Guild has moved twice since then. We are now back to our beloved Crescent Lane and I really think that we now have Happy Hookers.

We were in desperate need of something fun that we all could look forward to, so I convinced the Board to have a Covered Dish Lunch and an Auction where everyone would donate something we could bid on. We are also working on a rug to raffle where everyone hooks a 5 inch square anyway they want. It is turning out so adorable. Here are some samples . . .


I am also working on decorating and having door prizes for everyone attending. It will be a fabulous time. It will be good to have a get-together like this. I will post more about this later.

Wondering about the rug I am working on? My daughter is having her third baby and I wanted to do a rug that would be sentimental to her. She drew the panda picture when she was in the fourth grade, I think that was in 1987-ish. Anyway, my hubby and I always loved the picture and I saved it all these years. I took it to be enlarged, traced it on red dot, and drew it on linen to be hooked. SHE DOES NOT KNOW ABOUT IT YET. . . and she never reads my blog so I think I am safe.

It is a great rug to hook . . . everything is either blocks or little items . . . and it is nice to be hooking again for pleasure and not project oriented.

Happy Hooking!!!

Thursday, April 7, 2011

Little Stuffed Lamb

This was a fun thing to hook. It is a Lamb pattern by Mary Ellen Wolff of Sunnybrook Design. It was a little tedious to sew together, but I just love him . . or her. Mary Ellen has a few more fun 'Critters" I just might have to have!

Sunday, March 27, 2011

Repairing an Antique Rug

This beautiful antique rug belongs to a friend of a fellow hooker of mine. It needed repair and I was asked if I could repair the hole and bind the sides like the top and bottom were bound. I have never done a repair before and it made me terribly nervous to even consider it. I read several articles from Rug Hooking Magazine, one of them found in September/ October 2004 and then got the courage to tackle it.

Accessing the damage front and back . . . (please click on the pictures to see larger pictures)


The rug was hooked on burlap with different fabrics, not wool. I needed to remove some of the hooking far enough to find some good burlap to attach a new piece. The fabric that I took out was difficult to remove and it fell apart as I removed it making me even more nervous.

The piece I attached was Scottish burlap, surged on one side. It goes about two inches below the removed hooked part as you will see on the back side.

One row hooked to secure the piece. You can see my basting stitches. I used #8 wool strips as close to the background colors that I could find.


After the hooking was complete, I trimmed the excess (new) burlap and I turned back the surged edge twice then secured the edge by whipping.


The top and the bottom of the rug had been bound with binding tape that showed on the top side about 1/4 to 1/2 inch. It was faded so using new binding tape would show too much. I took new binding tape and boiled out as much black as I could using a little dishwasher detergent in the water. It took about 6 times of boiling before it stopped bleeding.

The white line on the tape shows me where to sew to make the edge as even as I could. The tape was then flipped over and sewn to the back. Below are the remains of the hooking that I took out. Not much was left and very tedious to remove. The rug was worn and needed a good cleaning . . . by an expert cleaner who knows antique rugs!


Finished back repair.


Now that it is all over and done, I feel so relieved!

Tuesday, March 8, 2011

Uncle Sam and 'repositioning' . . .

This is "Uncle Sam". I found him in the January/February 2010 Rug Hooking Magazine (volume XXI, Number 4). It is by Sally Kallin of Pine Island Primitives. He was fabulous to hook and I enjoyed hooking him up. I will probably hang him on a wall since he is so tall and skinny (15 x 44 inches).


If you choose to hook a pattern from rug hooking magazine, the instructions are always very thorough with colors of wool used and enlargement of pattern per cents provided. The place you choose to enlarge the pattern will help you to figure out the percent of enlargement when it is not easy to understand. I enlarged my Uncle Sam by 200% (just a little larger), but had I enlarged the pattern like the directions stated, it would have been easier to hook the flag and other details since Sally designed it for a #8 cut. My flag is a little fatter in places than hers. Live and learn! However, I wanted him a little larger.

"Measure" and draw the rectangle first. The lines of the border need to be straight on the grain, so do not try to draw the straight lines from the pattern. The rest of the design can be drawn from the pattern itself. I use red dot when transferring a pattern onto linen. I do not have a light table and my space is limited, so I use my kitchen counter top, lay the pattern down, put the red dot on top of the pattern and trace it. Then I place the red dot on the linen and re-trace the pattern, checking to make sure that the permanent marker is going through to the linen. If I need to, I go back over the markings on the linen to make them show up better.

If you do not know what red dot is, here is an example. I free-handed drawing my initials and date on the linen and got the date noticeably off. Here is how I corrected it.


Now go over the orange marking with the pen to 're-draw' the date on the linen.


Happy Hooking everyone!